Chairs arrive flat-packed because a fully assembled chair ships at three times the volume. Assembly is straightforward, and the small number of things that go wrong go wrong consistently.
Unpack completely and count first
Lay every part out and check against the parts list before starting. Missing hardware discovered at step one is a five-minute email; discovered at step six it is a half-built chair in the middle of a room.
Keep the box until the chair has been used for a week. Returns without original packaging are considerably more difficult.
Castors go in before anything else
Press the castors into the base while it is upside down on the floor, using body weight rather than a mallet. They are a friction fit and should click. A castor that is not fully seated will fall out under load later, usually while someone is sitting on it.
This is also the moment to fit the correct castor type for your floor if the chair came with alternatives.
The gas cylinder is not bolted in
It drops into the base and is held by a taper fit that tightens under the user’s weight. There is nothing to tighten and nothing to check beyond that it is seated squarely. Forcing or hammering it is unnecessary and can damage the taper.
It comes apart the same way, with difficulty, which is why cylinder replacement usually needs a pipe wrench and a firm pull.
Seat to mechanism: the joint that matters
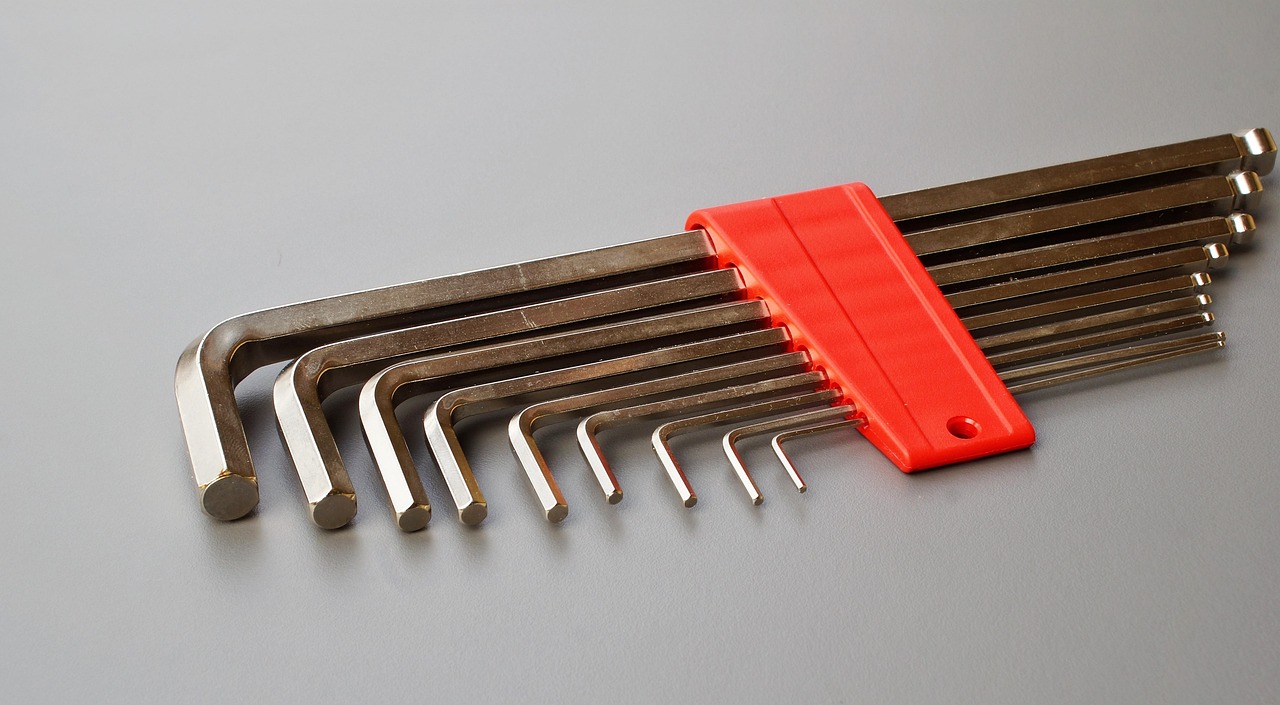
The mechanism bolts to the underside of the seat, usually with four bolts. Start all four by hand before tightening any of them, then tighten in a diagonal pattern. Tightening one fully first pulls the plate out of alignment and leaves the others cross-threaded.
Use the supplied key, and tighten firmly. This joint takes the bending load every time someone leans back.
Backrest attachment
Usually two large bolts through a bracket. The same rule applies – start both, then tighten. Many chairs have a plastic cover that clips over afterwards; fit it only once you have confirmed the chair is right, because it is awkward to remove.
If the back has height adjustment, check it moves through its full range before covering the bracket.
Armrests
Fitted from underneath the seat with two bolts each. It is easy to fit them backwards; the adjustment paddle almost always faces outward or forward. Check both sides look the same before tightening.
If armrests foul the desk, they usually detach at this joint, which is worth confirming at assembly rather than discovering later.
The first-month retighten
Components bed in. Every bolt on the chair should be checked after about a month, and again at six months. This single habit prevents most creaks, wobbles and premature mechanism wear.
Note it in a calendar; nobody remembers otherwise.
What a wobble actually means
Side-to-side movement at the seat is almost always a loose mechanism-to-seat bolt. Movement at the base is a castor not fully seated or a cracked base. A chair that rocks front to back with the tilt locked has a mechanism fault and should be returned.
Diagnosing before contacting support saves a return that was not needed.
Disposal and moving
Chairs disassemble in reverse except for the gas cylinder, which usually will not come out without tools. For a move, removing the base and the back reduces the volume by more than half and protects the mechanism.
Gas cylinders are pressurised and should not be cut, punctured or put in general waste – most municipal recycling centres take them as scrap metal.
Assembly checklist
- Lay out and count all parts against the list before starting
- Press castors fully into the base until they click
- Seat the gas cylinder squarely; no hammering needed
- Start all bolts by hand, then tighten diagonally
- Confirm armrest paddles face the same way on both sides
- Test full range of every adjustment before fitting covers
- Keep packaging for at least a week
- Retighten every bolt at one month and again at six
- Fit the correct castors for your floor type