Lumbar support is the feature most often cited in chair marketing and most often set up wrong. The lower back has a natural inward curve, and the job of the support is to hold that curve without pushing beyond it.
Fixed lumbar suits a narrow range of people
A moulded curve in the backrest is set at a height chosen by the designer for an average user. If your lower back sits at that height, it works well. If it does not, the support pushes on the wrong vertebrae and the chair feels worse the longer you sit.
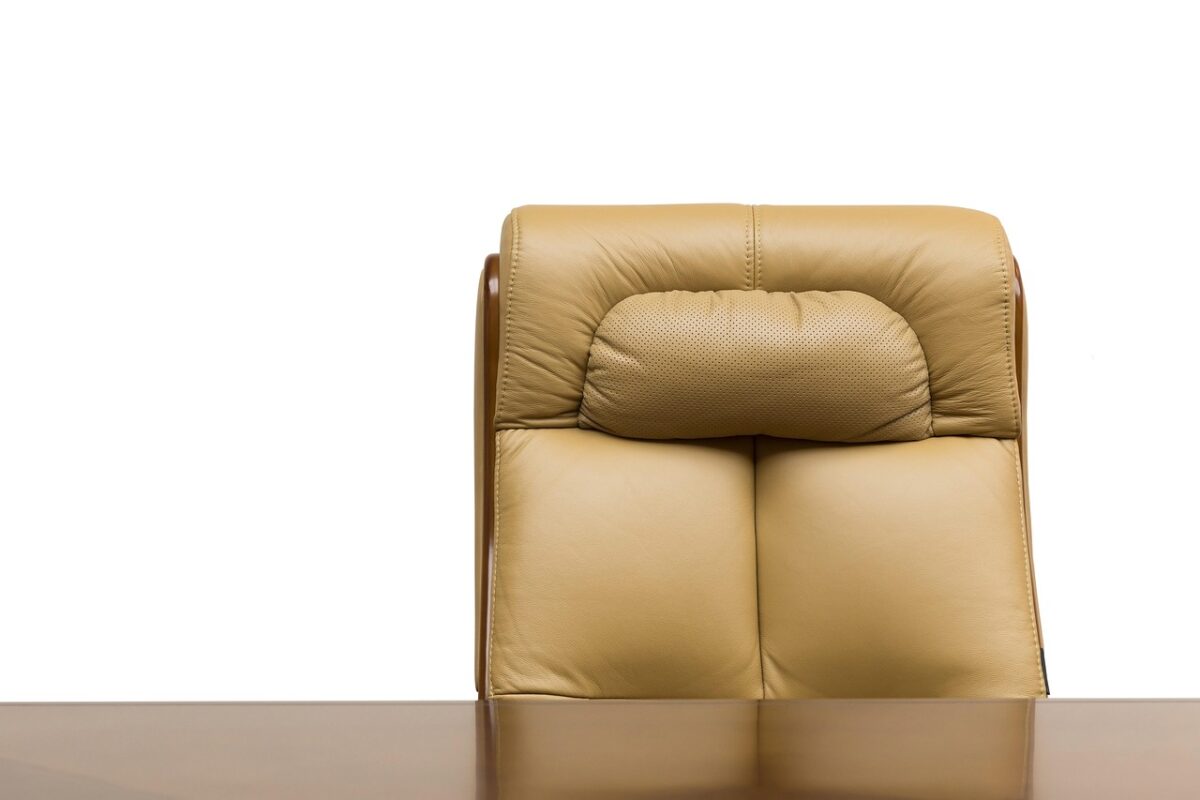
Fixed lumbar is common on lower-cost chairs and on executive chairs where the padding is deep enough to disguise it.
Height-adjustable lumbar
A support that slides up and down lets you put the curve where your curve is. This is the meaningful adjustment for most people and it takes one attempt to set correctly: sit fully back, and move the support until it sits just above the belt line, in the hollow of the back.
Set it, then leave it. Constantly readjusting usually means the seat depth is wrong rather than the lumbar height.
Depth-adjustable lumbar
A dial or a tensioner that changes how far the support protrudes. Useful, and secondary to height – a support at the right height with the wrong depth is still broadly correct, while the reverse is not.
Set it to the point where you feel contact without pressure. Support should feel like the chair is holding a position you could hold yourself, not pushing you out of it.
Mesh backs behave differently
A tensioned mesh back distributes support across the whole back rather than concentrating it at one point, and it flexes with movement. Many mesh chairs add a separate lumbar device on top of the mesh, which reintroduces the point-load the mesh was avoiding.
Mesh also breathes, which matters over a long day in a warm room more than most specification sheets suggest.
Recline tension is part of the same system
A backrest that reclines too easily gives no support at all; one locked upright forces a static posture. Tension should be set so the back follows you when you lean but still resists. Most chairs have a knob under the seat for this and most users never touch it.
Synchro-tilt mechanisms recline the back further than the seat, which keeps the thigh angle open. That is worth having and is stated in the specification.
The chair cannot fix the desk
If the desk is too high, shoulders rise and the lower back compensates regardless of lumbar setting. Set the chair to the body first – feet flat, thighs level, back supported – and then set the desk or add a footrest.
Adjusting the chair to reach a fixed desk height is the most common ergonomic mistake in a home office and it undoes every other adjustment.
Movement beats posture
No single position is sustainable for eight hours. The most useful thing a well-adjusted chair does is make several positions comfortable so you change between them. A chair that only supports one upright position produces the stiffness it was bought to prevent.
Standing up every half hour does more than any adjustment on this page.
When a cushion is the right answer
On a chair with fixed lumbar in the wrong place, a separate lumbar cushion is a legitimate fix and much cheaper than replacement. It is a poor substitute on a chair whose seat depth or height is wrong, because it changes seat depth as a side effect.
Try the chair’s own adjustments fully before adding anything to it.
Setting up, in order
Height so feet are flat and thighs level. Seat depth so there is a gap behind the knee. Lumbar height into the hollow of the back. Armrests so shoulders are relaxed. Recline tension so the back follows you. Then, and only then, the desk and the monitor.
This takes five minutes and most chairs are used for years without anyone doing it.
Setting a chair up: the order that works
- Seat height: feet flat on the floor, thighs level
- Seat depth: two to three fingers behind the knee
- Lumbar height: in the hollow of the back, above the belt line
- Lumbar depth: contact without pressure
- Armrests: shoulders relaxed, forearms level with the desk
- Recline tension: the back follows you but still resists
- Monitor: top of the screen at or just below eye level
- Add a footrest if the desk height cannot be lowered
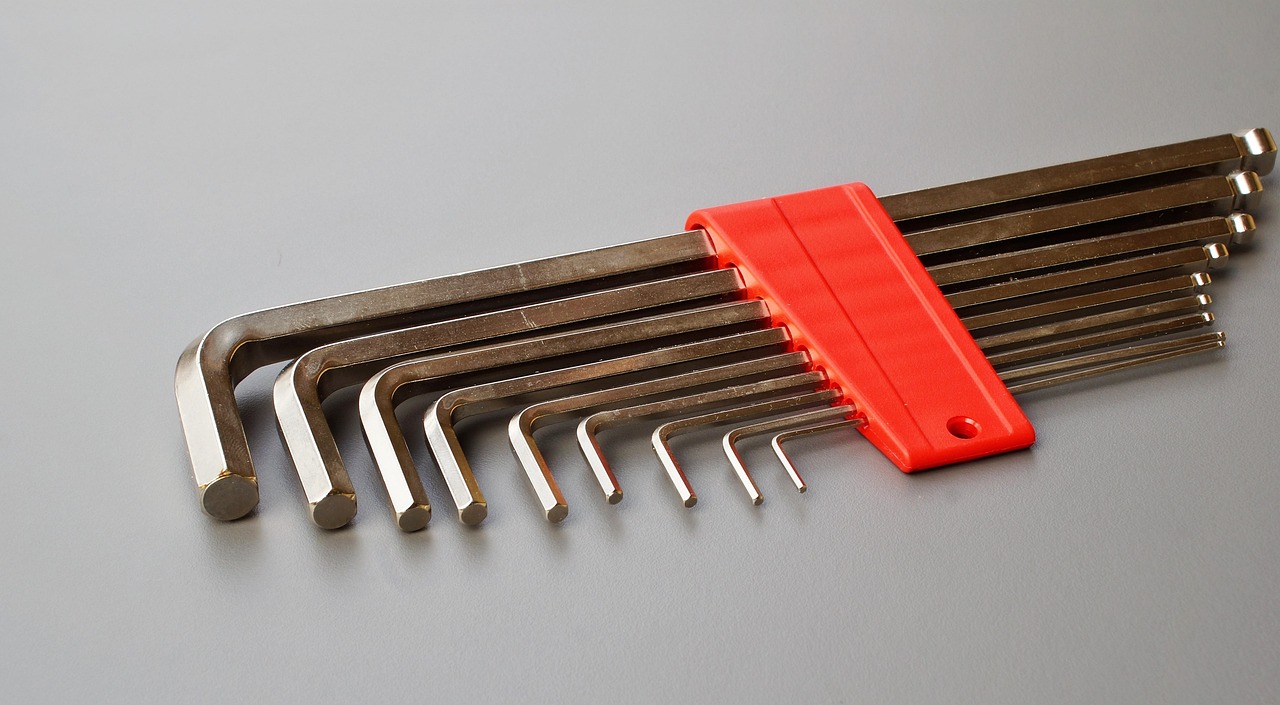
- Recheck bolts after the first month of use